Monday 2 May 2016

Marble Nails | Instagram Worthy Dinkibelle Wraps | Giveaway.


leluroxx.blogspot.co.uk


Happy Bank Holiday Monday y'all!!! 

The weather in the UK is freaking awful today, so if you've been out and about, well... I hope you have had a nice time and not got too soaked. Ha. 

It's May for crying out loud... Where is the nice weather?!

What will brighten up your day however are these beautiful marble nails. 

I was on a Twitter chat the other day and the topic was about nails (how fitting) and we were talking about trends and I mentioned that I loved the marble effect nails and the glass shard nails that made an appearance briefly. 

The marble effect nails seemed to hit the spot with a lot of people, not just myself. 

A company called Dinkibelle kindly gifted me a pack of their nail wraps... And guess what? 

THEY ARE FREAKING MARBLE!!!

"Ohhhh yeaaahhh baby". 

They also gave me a pack of these to giveaway to one lucky winner. 

The T's&C's will be at the end of this post, so keep your peepers peeled!

Now, I have used nail wraps before and I have never got to grips on how to apply them. They either peeled straight off my natural nail or ended up looking like my dog had chewed them. 

I decided to put a fresh set of falsies on from Elegant Touch and apply the wraps to those. 

In all of the excitement I forgot to photograph the step-by-step images to show you but to be honest most of you would of applied wraps before. You don't need me to show you.

leluroxx.blogspot.co.uk


This is what I did. 

1. I buffed away all the shine from the top of the false nail. 

2. Picked a size wrap that would cover my nail right to the edges. 

3. Peeled away the plastic protector on the top, and then peeled away the wrap from the backing. 

4. Placed the sticky side of the wrap onto the buffed nail and pushed down, sweeping side-to-side as I go up the nail to ensure no creases are left. 

5. I cut around the edges of the nail to remove the excess wrap and then filed away the rest to complete the look. 

6. Applied a layer of Barry M's Gelly Top Coat to protect the wrap and add shine. 

That's it done. 

leluroxx.blogspot.co.uk


Ha, when I actually got to my right hand, I had to call my mum to help me cut the excess wrap off around my nails as I am right handed. 

Oh my goodness, it was like asking a mole to cut them! I couldn't stop laughing until it got to the point that is was a complete joke that she couldn't frickin cut them. 

Instead of going in at an angle, she was aiming the scissors at my finger like she was about to dig a hole. 

All I kept saying was the following...

"WHAT ARE YOU DOING?!!!"

I had to do it myself in the end. 

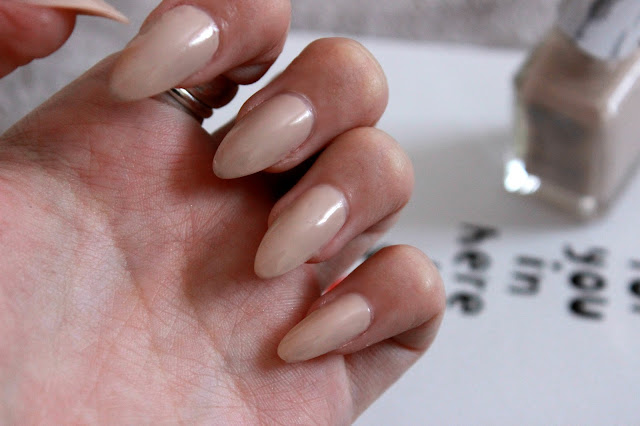
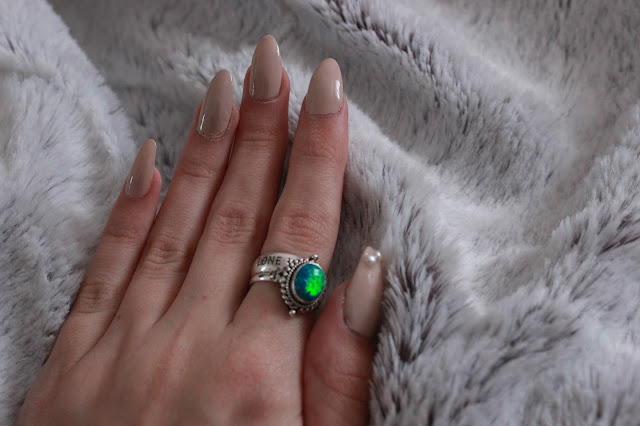
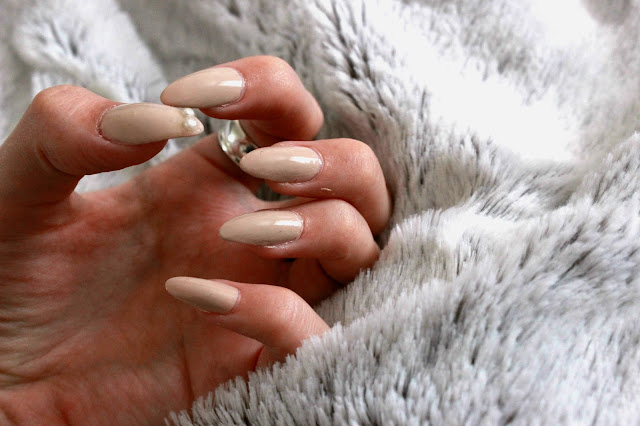
And here's the finished look. Beautiful right?

leluroxx.blogspot.co.uk


You want my honest opinion? 

I AM IN LOVE WITH THESE WRAPS!!!

They are amazing guys. Once you get to grips with how you apply them, they are quick as hell to apply and so easy to use too. 

I loved the overall effect, if you make a placement mistake you can unpeel a few times and then reapply and I have had sooooo many compliments on them now. 

I went shopping yesterday and I had so many girls asking where I got my nails from. Obviously I told them and I felt very proud of my handy work. 

I am going to be gutted when I have to remove these nails as I would want to apply these wraps again. I am officially addicted. 

You can get them here and they retail at £6.99.

They have some beautiful designs on there. 

My picks are: Marble, Boom Pow, Candy Girl, Princess Sparkle, Steam Punk and Sea Foam Sparkle. 

I haven't seen marble wraps anywhere so Dinkibelle are a must have if you are after 'Instagramable' nails. ;) 


*GIVEAWAY*

If you want to get your mits on a FREE pack of these Marbs wraps then all you need to do is follow me on Twitter & Instagram and that's it. Just let me know once you have done it. 

Open to UK residents only at the mo. I will announce a randomly selected winner on one of the platforms once enough people have entered. So spread the word.

Twitter & Instagram handle: leluroxxblogger


I hope you liked this post and I will see you again Thursday. 

Until then...


Love 


X  
SHARE:

Thursday 28 April 2016

Gel Nails At Home | Budget Manicure With United Beauty

leluroxx.blogspot.co.uk


Evening my little bees.

Are we well? 

I feel like I haven't had a productive day but I kind of have, although I have procrastinated a lot this evening. 

I went to the doctors earlier to get my B12 injection (hopefully that will give me some extra energy), had tea and I have been sat around thinking about what I could eat next. 

Seriously I think I have a problem. I will eat, feel full for like a minute and then all the food is calling me from the cupboards whispering... 


"Leeeeyyyyyaaaa, come and get me. You need me, you want me."

And I am like...

"NOOOOOOO". 

Then I cave. 

FAIL. 

That aside, one thing I have got back into is doing my nails. My nails are crap. I will be honest, they are freaking shit. They will get to a certain length and then just after that very fine line they will then curl under... It's like having a Quaver crisp for a frickin nail. Utterly useless. Oh and don't even get me started on the nail breaking fiasco. Grrrr. 


I LOVE gel nails, I am attracted to anything shiny. Call me a Magpie, because that's what I am. I do like a matte nail now and then but gel is my calling. I always feel like a 'woman' when my nails are long and painted nicely but I am also very clumsy and a bit of a tomboy when it comes to 'girly' things. 

These days, if I am going to paint my nails I will do so on falsies because lets face it, with my Quaver nails it ain't going to be pretty. More like a catastrophic monstrosity. 

Having your nails done professionally isn't a cheap game, especially if you're the kind of gal that likes to get her nails done often. 

However, the nail Gods have finally heard our screams of pain and "oh look... But what is this?" Errr hell yeah, a D.I.Y gel nail kit that you can usee from the very comfort of your own home. 

Ahhhh, "goodbye nail salons" *whispers* "forever" (Phoebe from Friends style).

leluroxx.blogspot.co.uk


I have been sent the cutest at home gel nail kit from the company United Beauty. I had never heard of them before and whilst I was modelling at the blogger event the other month, they had their own stand explaining their brand and product.

Their cosmetic portfolio spans from tanning to nail products, they are the home of tanning and nail brands such as; Attitude, Glam Republic, Gelousy, GelTouch and many more. 

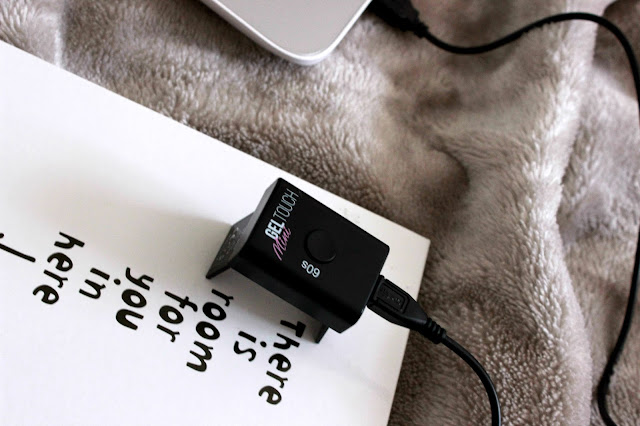
I was sent the GelTouch Mini Starter Kit which contains the GelTouch clear top coat, mini LED lamp and 2x gel cleansing wipes. 

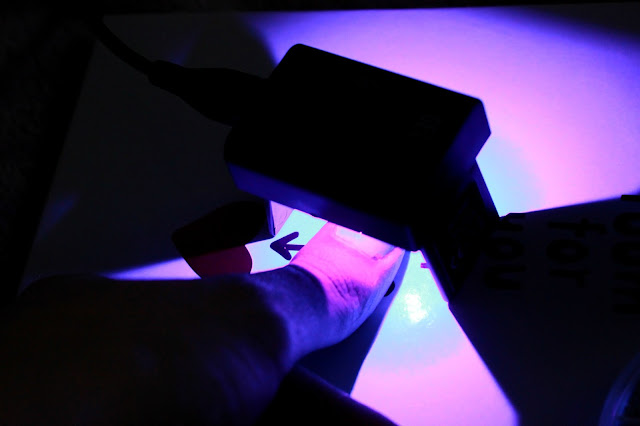
It is literally so simple to use. Prep your nail, apply your favourite polish, put the GelTouch top coat on, place under the LED lamp for 60s and then wipe off the excess with the cleansing wipes.

That's it, done.

To remove. Peel off. :) 

The objective of this product is super cool and super cute. On the cute side the mini LED lamp is in fact as it says, mini. I am not joking it's big enough to fit 1-2 fingers in to cure. That's the beauty of it because it actually works by plugging it into a USB socket. 

leluroxx.blogspot.co.uk


Imagine the scene, you're on the train with your laptop on, or even in the uni library and you want to do your nails (as you do), all you need to do is whip this bad boy out. It's discrete and the little bulb is a lot stronger than you think. 

Good things come in little packages, right?

Well I have put this product to the test to see if I would recommend this kit to you nail fanatics out there. 

Next I will show you a step by step of how I did my nails and the final result. I just love how it's so quick to do, gel nails literally in minutes. 

I originally tried this on my natural nail and I used a glitter polish. Now, my natural nail NEVER holds gel topcoats, I don't know why it just peels off. This did the same, however, I do think I applied it too thickly. 

This is when I moved on to applying it on to false nails instead. 

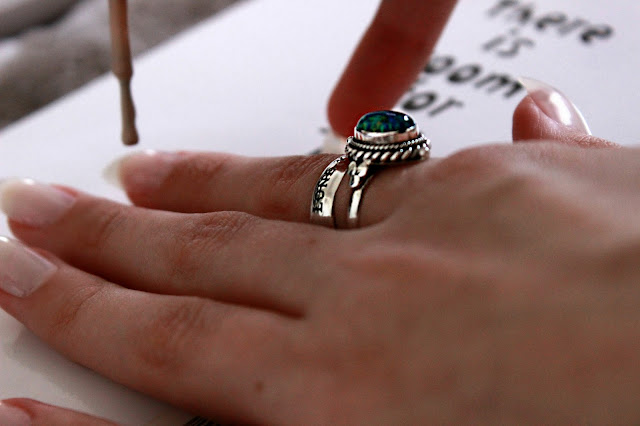
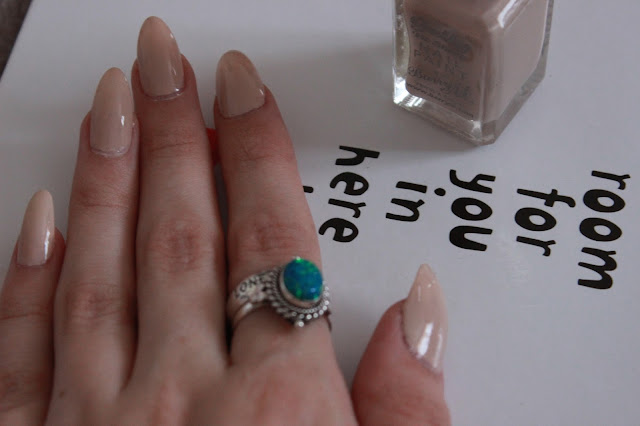
See the results below. 

leluroxx.blogspot.co.uk


                 Conclusion - Would I recommend? 

Yes I really would. The product retails at £24.99 on their site and because of its quickness and the fact it's so simple to use I think its definitely worth the investment. The simple size of the lamp is amazing to carry around with you and all you need is the top coat on top of your favourite polish to complete the look. No faffing. 

I cannot deal with faff. The only downfall is the cleansing wipes dry out VERY quickly so sometimes it doesn't completely get the residue off. They are working on this I believe. No biggie though, easily solved. 

So if you want salon looking nails at home and to be the envy of your friends because you're saving like £40 a month, then I suggest you gel this kit!!! 

You can get it from United Beauty here

Any questions leave me a comment. :) 

You can subscribe to me here

 I have posted my FIRST EVER YouTube video onto my channel yesterday *vom in my mouth* for a makeup competition. You can check that out here

And finally you can find me on the following. 

Twitter | Leluroxxblogger
Instagram | Leluroxxblogger

If you like my shiz don't forget to give me a follow/subscribe. 

Until next time...

Love


X  
SHARE:
© LoneWolfLeya. All rights reserved.
Blogger templates by pipdig