Thursday, 18 August 2016

What I Use To Take My Blog And Instagram Photos Plus Equipment, Editing, Hints And Tips.


bbloggers, beauty, makeup, beauty blogger, black and white, photography, canon 600d, instagram, blog, lighting equipment, ring light, neewer, editing


Hello my lovelies! 

It's so freaking hot today and I have been a busy little bee let me tell you. Only around the house that is. 

I put on fresh, new bed sheets today and I am so proud of myself because usually I cannot for the life of me get the duvet into the corners of the sheet. It all bunches up and looks a complete and utter state. 

I have had a rocky week emotions wise but today I feel productive and positive. I accidentally on purpose made another Beauty Bay order today because I missed out on the Morphe 350 palette yesterday as they never pre-announced that it was going onto the site. They did however announce that they were going to put up the 350M palette. I was all over that shit man, I love my matte shadows. So I was up bright and early to get that little bad boy along with some other bits. 

Thank goodness for birthday money. Ha. 

So that should arrive tomorrow. I will do another little haul for you. Oh... And Beauty Bay contacted me today and asked me to be part of their affiliate programme which I 100% agreed to. I have had a few brands contact me too, to review their products. 

Keep an eye out for those :) 


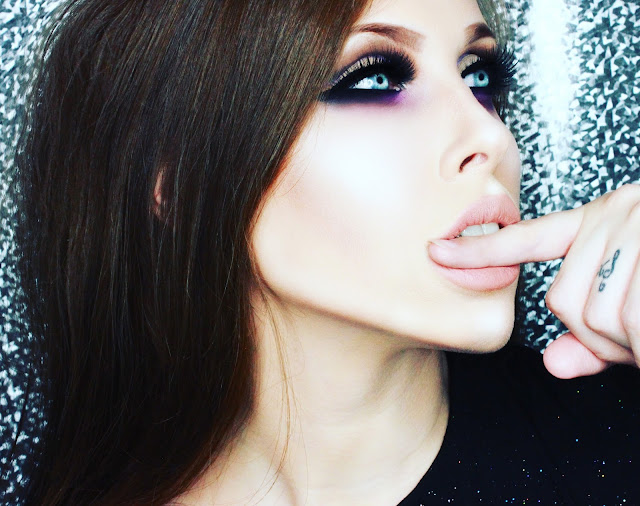
Okay, down to business. I have been asked A LOT on what camera I use to take my photos and have been getting so many compliments on my photographs,especially my makeup ones. 

So, the nice person that I am, of course I was going to spill my secrets!!!

N/B I am also fully aware that my annoying blog stalker will no doubt see this and copy. SO if you're reading this... "HI".  

Along with telling you guys what camera I use, I thought I would also address things like the lenses, equipment, lighting, editing and my hints/tips. 

It may come in useful, it may not. You can take whatever information away with you and adapt it to suit your needs. 

Lets GO!


Camera - Model and Make


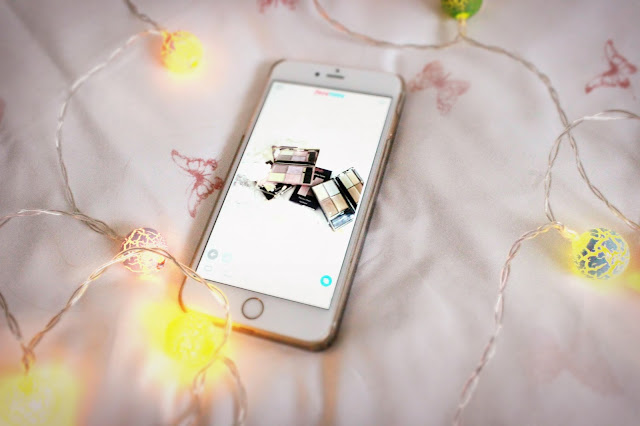
When it comes to taking my blog photos I actually alternate between my phone and my DSLR. The only time I will use my phone is if I am taking photos like the ones below. Other than that I will always use my DSLR.

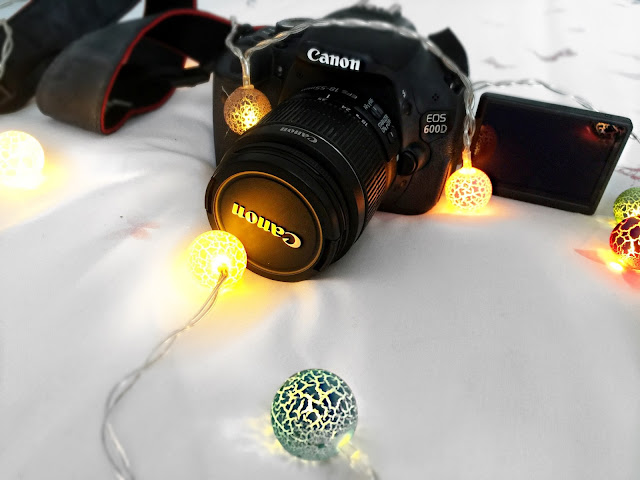
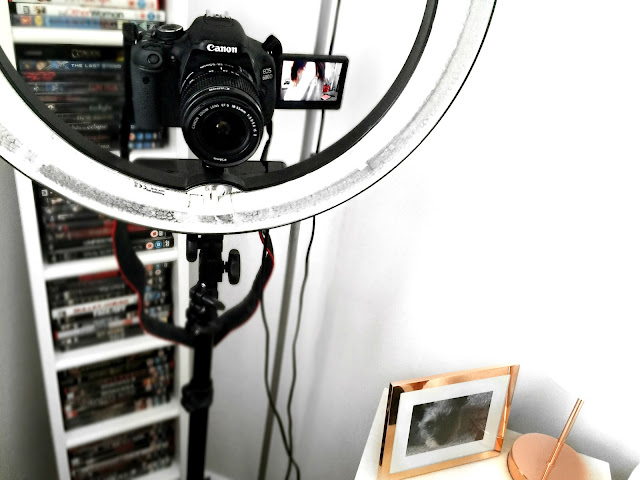
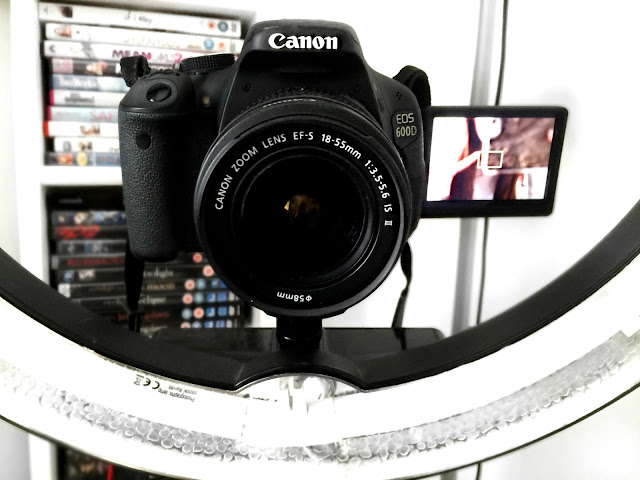
The brand and model in which I invested in is the Canon 600D. They are actually discontinued now but I wanted this one as it has a flip out screen which makes it hella a lot easier when taking photes. I had to do my research to track this down and it is retailed at around £400. 

At some point I will upgrade but I wanted this one to practice, learn and improve my skills on. 

It is really user friendly and takes some awesome pictures. With these camera's though practise does make perfect as you have to switch between ISO's, F. modes and apertures. It really frustrates me when the camera takes a blurry picture because the lighting isn't right and it doesn't focus properly. 


TIP: When swapping lenses make sure you keep the body of your camera facing down to avoid any dust falling onto the mirrored part inside. You get any particles on that and your camera is on the brink of extinction. 


bbloggers, beauty, makeup, beauty blogger, black and white, photography, canon 600d, instagram, blog, lighting equipment, ring light, neewer, editing, how to, blogging advice, what i use, professional photographer, makeup looks, close up makeup,


Lenses

When it comes to lenses, there are many that I want but man you have to take out a mortgage to afford one. They are so freaking expensive. I really want a 'Pancake' lens and a macro.

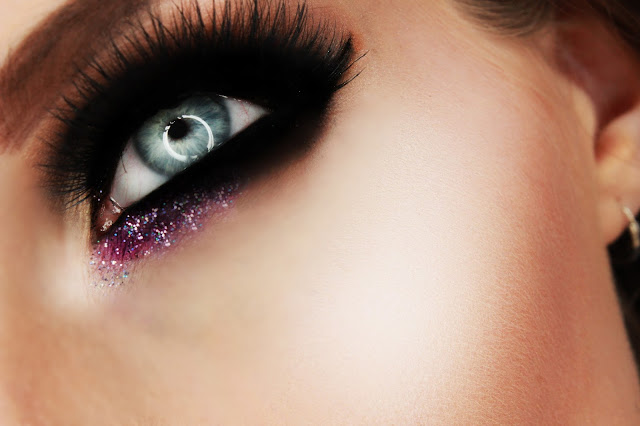
When taking my closeup images I will stick to the original lens that comes with the camera and tend to manual focus so I can get up close and personal to whatever I am wanting to focus on. 

This is what I do when I want to get a good shot of my eye makeup. I find that if you're on auto focus you don't get the same detailing. 

 TIP: If you want a good close up manually do it. I learnt this on the way. Oh and what took me forever to realise is that I couldn't actually find how to manual focus, I was sliding the zoom in and out on the lens and then it suddenly clicked when I was messaging about. The actual manual focus is on the very end of the lens, on the rim!! 

There's another tip, check that out if you have been doing the same as I was. 

I have two other separate lenses too - I have a telephoto zoom lens which I use more outside to focus on subjects in the distance. It's a Sigma lens and it's super good. 

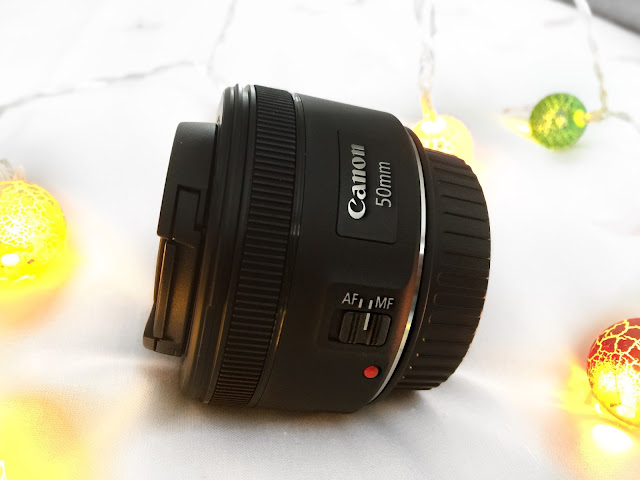
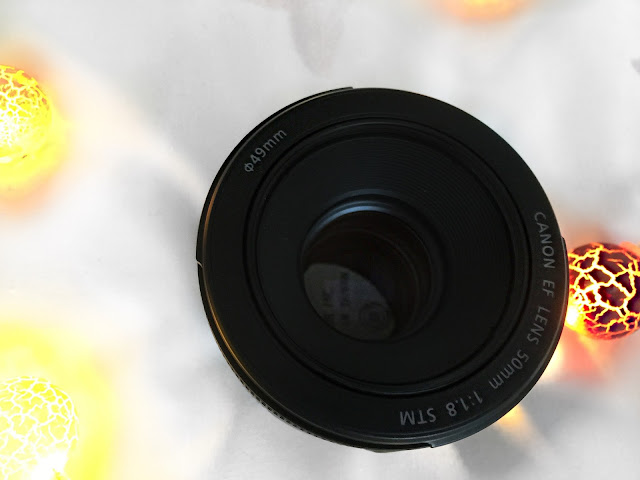
The lens below is a 50mm f/1.8 STM. This lens I will use mainly for when I am filming a video on my DSLR, it's great at blurring out the background and focusing on the subject in the foreground. 

This lens doesn't have a zoom so you have to be a certain distance away from the lens. 

Tip: This lens is ideal for videos, occasion's such as weddings and taking portraits.  


bbloggers, beauty, makeup, beauty blogger, black and white, photography, canon 600d, instagram, blog, lighting equipment, ring light, neewer, editing, how to, blogging advice, what i use, professional photographer, makeup looks, close up makeup,
bbloggers, beauty, makeup, beauty blogger, black and white, photography, canon 600d, instagram, blog, lighting equipment, ring light, neewer, editing, how to, blogging advice, what i use, professional photographer, makeup looks, close up makeup, violet voss, holy grail palette,


Lighting


bbloggers, beauty, makeup, beauty blogger, black and white, photography, canon 600d, instagram, blog, lighting equipment, ring light, neewer, editing, how to, blogging advice, what i use, professional photographer, makeup looks, close up makeup,


Lighting is SO important to the turnout of your image, you don't take a picture in the correct lighting you risk losing, quality, atmosphere, detail and more importantly interest from your viewer. 

If you can get some good natural light use that, there's nothing better than awesome natural light to take your blog/Instagram pictures - however with the typical British weather that's not always possible. 

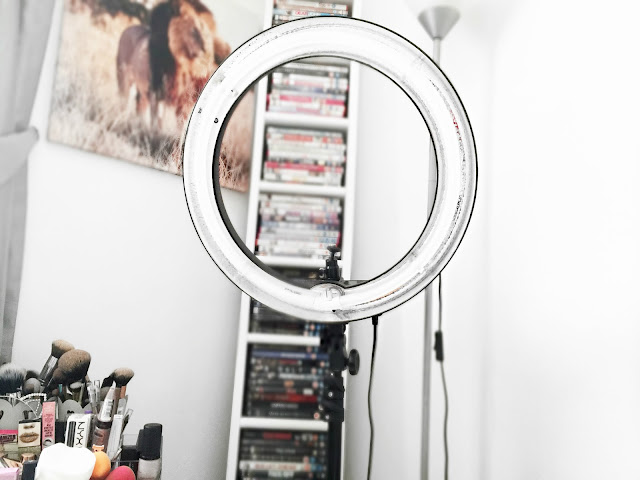
I originally bought a ring light that you attach to the front of your camera lens. I liked that and it's good to take around with you as it's portable and bag friendly but I wanted the king of lights. 

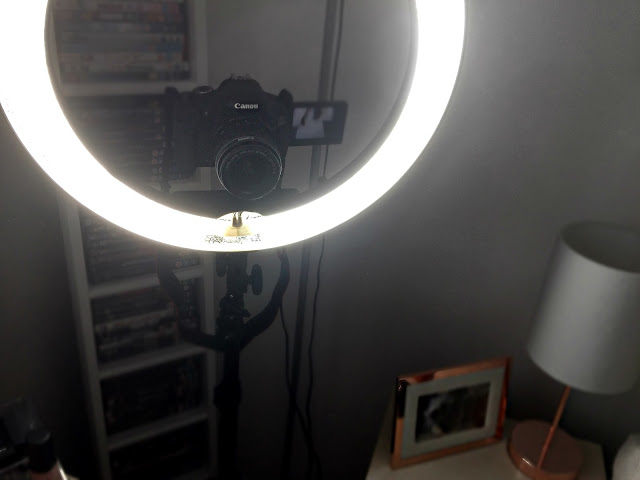
A ring light. No joke, having a ring light has been a god send to me, it's really upped my image game because I am able to highlight all the areas I need to successfully take my picture. They aren't majorly cheap but if you are invested into your blog/Instagram/photography this is a must, especially if you take  lot of makeup images. 

The one I have bought was from Amazon (Neewer) and was around £100 and it's dimable, comes with a stand, hot shoe attachment and filters. I don't think think it's bad pricing at all. 

TIP: The plug is a universal one so comes attached with a 2 prong connector, make sure if you get this that you get a plug piece to connect the prongs to it. 


bbloggers, beauty, makeup, beauty blogger, black and white, photography, canon 600d, instagram, blog, lighting equipment, ring light, neewer, editing, how to, blogging advice, what i use, professional photographer, makeup looks, close up makeup,


Backdrop


I never had a backdrop up until recently but it's always nice to have a pretty background in your pictures. Whether you're doing a flatlay or a face/body shot take pride in what appears in your background. 

There's no point in placing a product onto a uninteresting background, especially if you're posting on Instagram because it's all so visual on there you need to make it eye-catching. 

Invest in props, fairy lights, flowers, wallpaper samples... You name it, grab it. 

Thank me later. 

As for my backdrop, I need to hang mine from the ceiling as I photograph from an awkward place in my room. Choose a backdrop that's going to make your image stand out, something glittery is always a favourite with us bloggers, or even just a plain white one is super cute too. 

I opted for a kind of holographic background and have been hanging it from my wardrobe. Ha. 

Means must and all that.

TIP: You don't have to go all out to create a decent backdrop, so you can keep it relatively inexpensive. I went to The Range (UK) and purchased 1.5m of the below lino fabric and it cost me £5 and I purchased a plumbing pole to hang the fabric on and hook to the ceiling for around £2. Sorted. 


bbloggers, beauty, makeup, beauty blogger, black and white, photography, canon 600d, instagram, blog, lighting equipment, ring light, neewer, editing, how to, blogging advice, what i use, professional photographer, makeup looks, close up makeup, beauty bay, holy grail palette, violet voss,


See, it makes the image look so much more polished! This I placed on my Instagram. 


Editing My Photos


I don't know about you guys but I LOVE editing my pictures, it gives me a sense of gratification and achievement. Okay, sure, it takes an absolute stone age, whether you're editing photos or videos but it's totally worth it when they turn out amazing. 

I tend to switch between my phone app and an app on the internet. 

On my phone, I will edit my pictures on 'FaceTune'. I will whiten the backgrounds with the whitening tool and add filters. I also like to use Afterlight too sometimes to add lighting effects. 

All these things make such a difference to the final appearance of your pictures. 

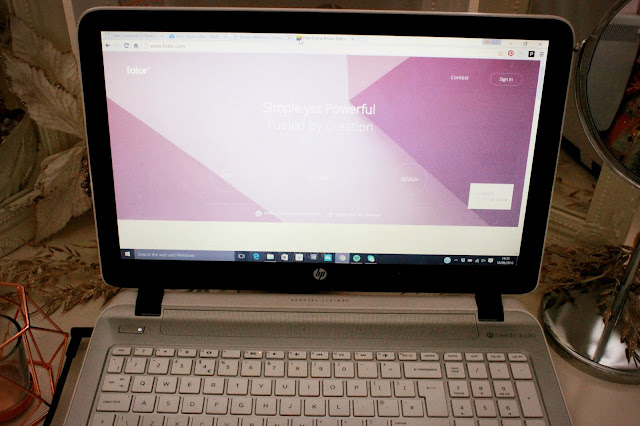
On my computer I will use the app called 'Fotor' - you do have to pay for this monthly and I use this to edit the contrast/brightness and add filters and effects. 

This is a fun process. If I am editing a video I will use Final Cut Pro on my brothers Mac as I am yet to get one. 


TIP: Keep your edits original, you don't always have to stick with a theme like Instagram suggests. Edit to reflect your personality. I like to keep my images a little quirky in how I edit and present them. There are lots of FREE good apps out there. 

bbloggers, beauty, makeup, beauty blogger, black and white, photography, canon 600d, instagram, blog, lighting equipment, ring light, neewer, editing, how to, blogging advice, what i use, professional photographer, makeup looks, close up makeup,


Thank you everyone for taking the time to read my posts and for following my blog. I have had a lot more hits these last couple of months and I fully appreciate it. 

It means a lot :) 

I hope you found this post useful and if you're a beginner to photography and the world of blogging, I would like to think this could help you. 

I don't have soft box lighting and all the fancy equipment and you don't need to either. I have spent some money, yes, but if you really are serious about what you're doing it's worth the spend.

If you would like to follow my blog you can here on Bloglovin'. 


You can also find me on the following social media sites. 


Twitter: Leluroxxblogger

Instagram: Leluroxxblogger

Facebook: Leya.Hutton

YouTube: Leluroxxblogger

Snapchat: Blackeyedfox


Until next time...


leluroxx.blogspot.co.uk


SHARE:

Thursday, 7 July 2016

30 Genius Beauty Hacks That Every Girl Needs To Know.

leluroxx.blogspot.co.uk


Greetings beautiful ones. 

I hope everyone is well and has had a nice week! 

Yesterday was such a good day for me, I have been offered two interviews, I am happy to announce that I am going to be working with Spectrum Brushes and Glitter eyes and will be reviewing their products. I cannot freaking wait, love those brands!! They contacted me yesterday and I was so freaking excited.

They will be up on the blog soon. Stay tuned! 

Oh and I went and ate out yesterday, I love eating out and don't do it often so that was nice. 

Oh and I have another YouTube video up of a halo eyeshadow look I created. You can view it here.


Being a woman can be a hard job sometimes especially when we are getting ready for the day, for work or even for a date. Life just gets in the way sometimes and we need things in our daily life to make things a lot easier. 

When it comes to beauty, whether that's makeup, hair or body, little hacks that can make things a damn sight better are always welcomed right? 

If you are anything like me, you will love these tried and tested (by me) genius beauty hacks. I am passing on my wisdom because every girl should have this knowledge, so read below and enjoy. 

You're welcome. :) 


30 GENIUS BEAUTY HACKS THAT EVERY GIRL NEEDS TO KNOW.


 1. Run out of setting powder? Use baby powder instead, it works just as good, if not even better. 

2. Get more use out of my liquid makeup products - when you can no longer get the product out easily cut the tube in half to reveal what you have been missing. 

3. Over draw your lips? To make it less obvious, apply foundation as a base and then apply matte powder as a secondary base before applying liner. It tones down the obvious line therefore making it a whole lot easier to contour. 

4. Use concealer on your lips first before applying lipstick. The lightness makes the colour pop and it lasts longer. 

5. Want a lipstick to become matte? Easy, just apply translucent powder over the top. 

6. To make eyeshadow brighter apply a white pencil eyeliner base then apply the shadow over the top. 

7. To make your eyes look wider, sweep your mascara towards your nose instead of upwards. It makes the lashes look fuller and eyes look bigger.

8. If you have extra skin on your eyelid like I do, applying eyeliner perfectly can be tricky. Just pull your lid towards your temple slightly to smooth it out and apply the winged liner. 

9. If you struggle with applying eyeshadow in your crease when trying to cut crease or any other makeup look use a cotton wool pad as a guide and sweep the shadow across the top of it. 

leluroxx.blogspot.co.uk


10. If you have dark circles under your eyes when applying concealer ensure that you tap the concealer in rather than smudge it across your skin. That way the concealer sits on top of the darkness, blends and stays put longer. 

11. When applying mascara use a spoon to stop mascara transferring to your skin. 

12. Curl lashes faster by using a hair dryer to warm up your lash curler. 

13. Run out of shaving gel? Use hair conditioner as a sub, it leaves your legs feeling super smooth and skin conditioned. 

14. Blunt razor? Sharpen it across an old pair of jeans. There you go, good as new. 

15. Sick of the mess left behind on your skin whilst painting your nails. Apply Vaseline before painting. It stops the varnish sticking to your skin. 

16. Whoops, fake tan mistake. Mix water and baking soda together to get rid of the orange tide marks. 

17. Don't fancy the hairdressers or can't afford to but need to get rid of those split ends? Section your hair and twist. The hair that sticks out give it a little trim, those areas will be where the damaged hair is at. 

18. Want a makeup remover that's kinder to your skin and is super effective? Coconut oil. Simple. 

19. Most of you know this but Nivea Men Aftershave Balm is the bomb at acting as a primer. 

20. Lock moisture into your skin after showering by patting yourself dry. Don't rub as it will dry your skin out. 

21. Red, tired eyes? Use a beige eyeliner to counteract how sleepy you really are. 

22. Got inflamed and unhappy skin? Use rose and lavender oils to calm the skin down. 

23. Naturally pale like me and want to glow like the sun without using fake tan on your face? Apply subtle glow products to the apples of your cheeks, bridge of your nose, hairline and chin. 

24. Olive oil is great for all things dry, you can even put some on a cotton ball and wipe over closed eyes. 

25. Not enough sleep? Use a bright blusher to wake that face up. 

26. Need to lighten your foundation? Use face moisturiser. Works a treat.

27. Instant eye lift - apply highlighter above the eyebrow. 

28. In a rush and need to sort out your greasy hair? Do a t-zone blowdry. Dampen your hairline and parting and blast it off with a dryer. 

29. Looking to create a smokey eye? Avoid blue hues, it can make you look like you have under-eye circles. Aim for browns, blacks and greys. 

30. Wear a blue toned lipstick to make teeth appear whiter. 

leluroxx.blogspot.co.uk


I hope these little tricks will serve you well. 


Keep up to date with me by following me on the following: 


Bloglovin': Leluroxxblogger 

Twitter: Leluroxxblogger

Instagram: Leluroxxblogger

YouTube: Leluroxxblogger


Until next time...

L

X
leluroxx.blogspot.co.uk

SHARE:

Monday, 27 June 2016

MAC Brush Cleanser Review | Is It Any Good For Spot Cleaning?

leluroxx.blogspot.co.uk


Hello guys. 

How was your weekend? 

How quick are these weeks flying by, it will actually be Christmas soon!!! That I am excited for, although if I don't have a job by then I am screwed totally. 

It was my cousin's wedding on Friday and it was such a beautiful day, she looks stunning and I cried when she walked down the isle. 

Ha ha, typical of me to cause a scene. I couldn't help it though, I am an emotional soul. 

Lets get down to business...


When I went shopping the other week I really needed a brush cleaner that I could use for spot cleaning. 

I wanted this because I wanted to sanitise my brushes to ensure that there was no bacteria on them each time I am doing my makeup looks and for when I use my brushes on other people. 

I have been searching high and low for Isopropyl alcohol. I had tried Superdrug, Boots and anywhere else I could think of but no one sold it. 

So when I was in MAC the other week I asked the lady what they use to spot clean their brushes as they are always doing makeovers on customers, or trying products out on them. That would require them to use their brushes so they must use something good. 

I was told that they have their own brush cleaner which I didn't know they had and that's what they use in between clients. 


leluroxx.blogspot.co.uk


 I was sold because it obviously was good as they use it every day.

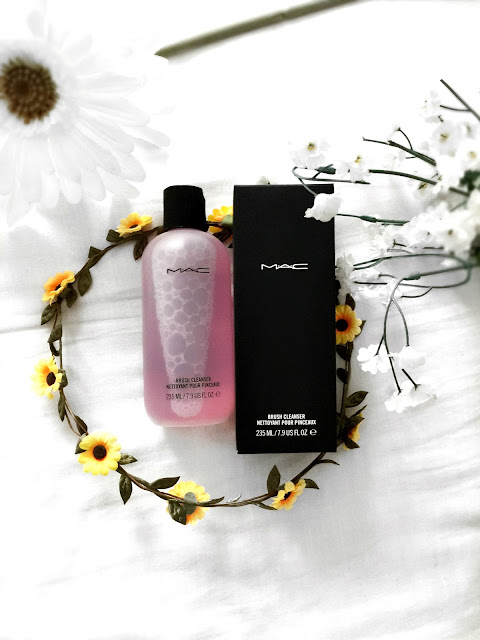
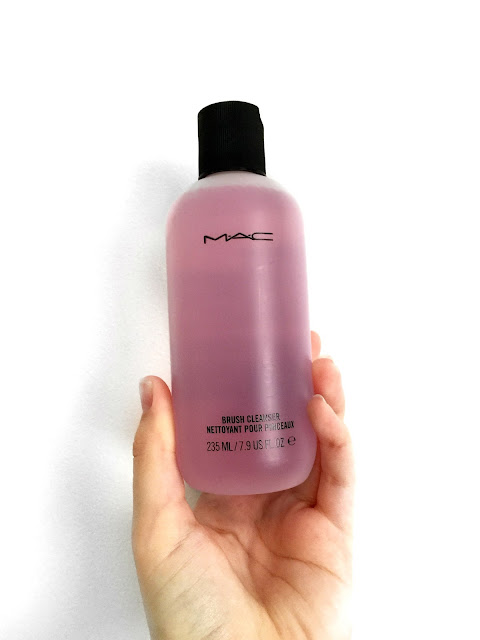
It cost £12 for a 235ml. It's a good size bottle but not the biggest. 

When I first took it out of the packaging it just reminded me of nail varnish remover. It is pink in colour and I thought it would be clear for some reason.

leluroxx.blogspot.co.uk


I thought it would also have a spritz nozzle but it doesn't is has a pour out attachment which if I am totally honest, isn't the best. The product just leaks everywhere and when you push the lid back down it doesn't actually close properly, so you have to store it standing up. 


The first time I used it I tried it on my lip brush, I had used a matte liquid lipstick on the brush and wanted to spot clean it. 

I am not going to beat around the brush. It was awful. 

It didn't remove the product it just moved the product around the brush and clumped up. 

Safe to say I wasn't impressed at all. 

So, I decided to put the cleanser to the test by spot cleaning my eye brushes and then my face brushes which have the most product on them. 

leluroxx.blogspot.co.uk
lelruoxx.blogspot.co.uk


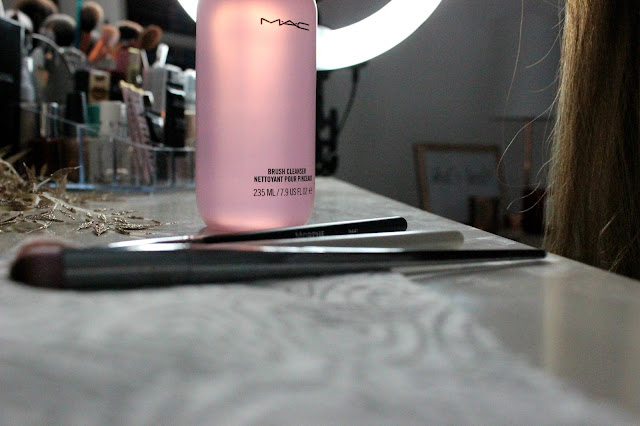
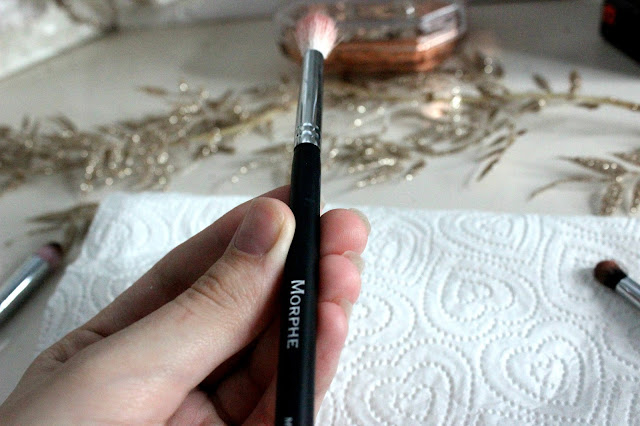
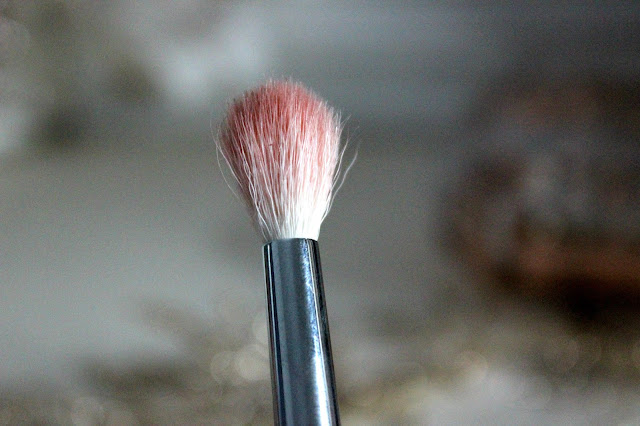
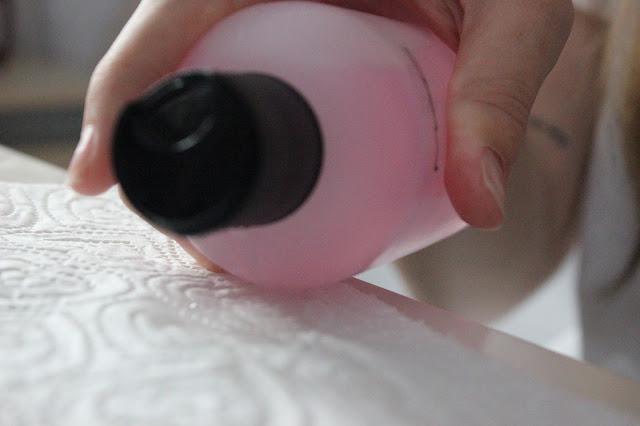
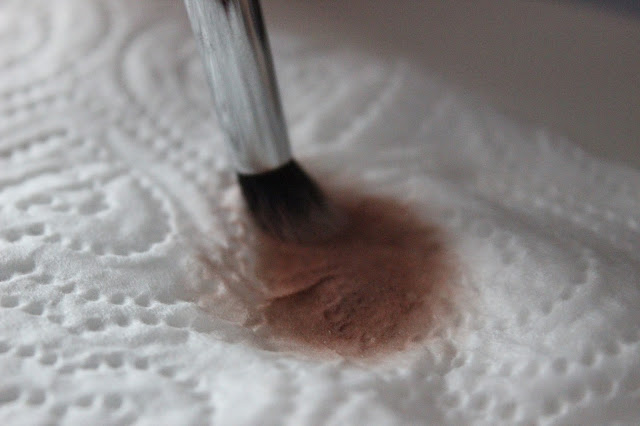
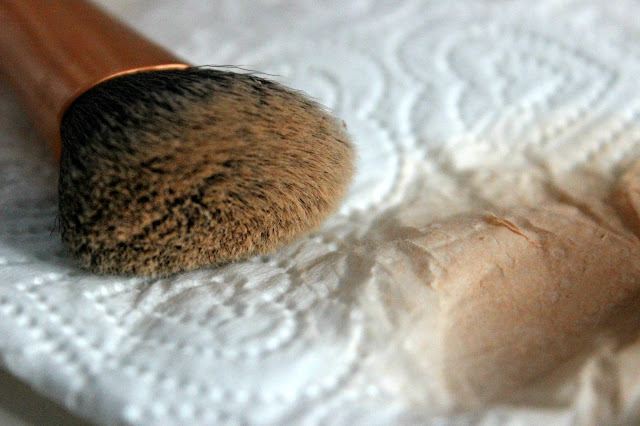
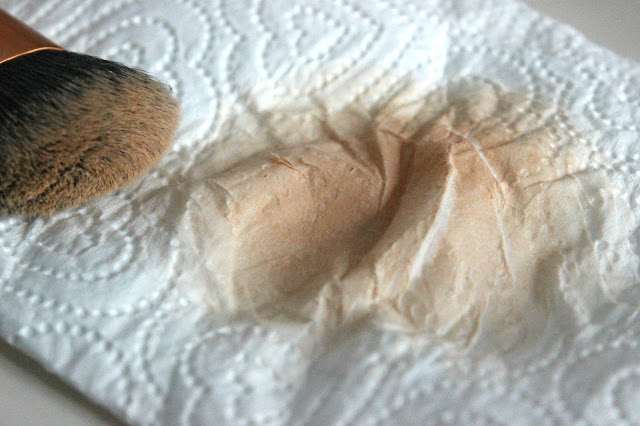
I got a clean paper towel and poured the liquid onto the towel and proceeded to swirl one of my eye brushes into the cleanser.

leluroxx.blogspot.co.uk


It removed some of the product as you can see below. 


leluroxx.blogspot.co.uk


It did take a few goes after also spritzing the product onto the brush directly and then swirling again in the product on the towel. 

* I did end up decanting some of the cleanser into my own spray bottle in the end* 


I then carried on spot cleaning the rest of my eye brushes in the same manner. Some of the brushes cleaned okay, some of them didn't end up with all the product removed. 

leluroxx.blogspot.co.uk


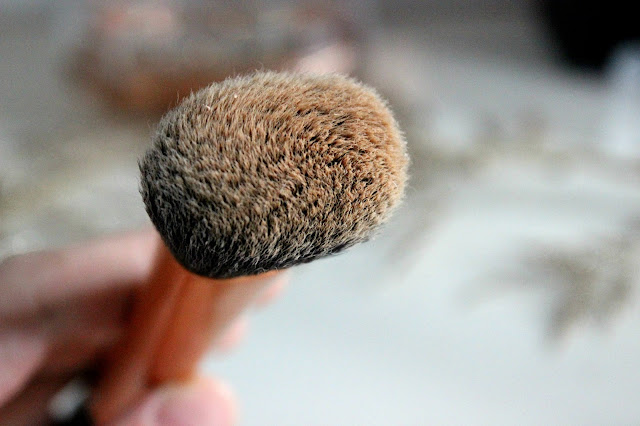
I moved on to cleaning my face brushes, especially my foundation brush as it had most product on it. I knew this would be a challenge and I wanted to put the MAC cleanser to the test even more. 

leluroxx.blogspot.co.uk


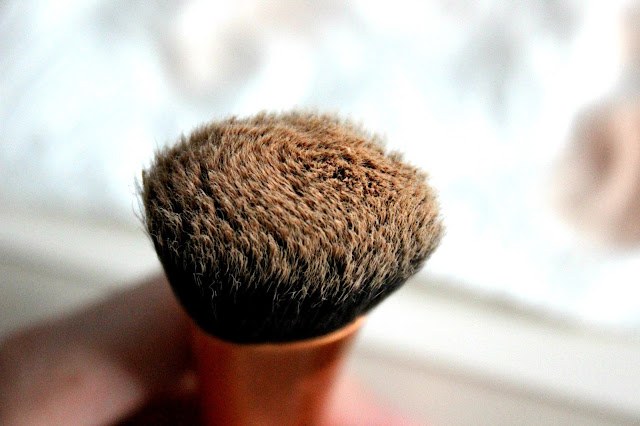
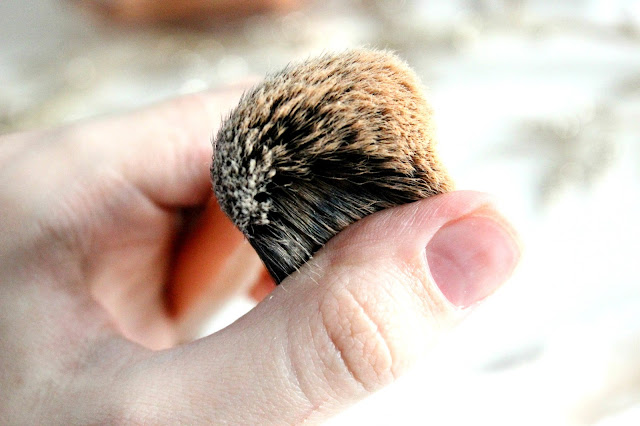
Hmmmmm, not so great I am afraid. It took away some of the product off the end of the brush bristles but it just did a similar thing to what my lip brush did. I think the cleanser doesn't deal so well with liquid product on the brushes. It worked a lot better with the powdered product but that's as far as it goes.

leluroxx.blogspot.co.uk


It didn't touch the product further down the brush bristles at all so I don't think it would be great for deep cleaning either. 

I haven't tried this product for deep cleaning and the main reason for that is that just from doing the spot cleaning it actually uses a lot of the cleanser because it doesn't diminish the product on the first go. You have to repeat the cleanse a number of times before you notice a difference. 

 All in all, I don't really think it is worth the money for what you're getting. 

leluroxx.blogspot.co.uk


If the price was lower I think you could expect less but I think it's pretty steep in cost for what you're actually getting and how much wastage is apparent. It's not going to last long at all.

There have been a lot of mixed reviews on this product but for me it's a nope for the major players in the brush game. It's okay to spot clean the eye brushes and even then not all the product comes out but it does a pretty good job on those.

I hope you found this an insightful review and has given you an idea of how this product works. For me, I won't be buying it again.

If you like my posts I would absolutely love for you to give my blog a follow on Bloglovin' here.


You can also follow me here too: 

Instagram: Leluroxxblogger

Twitter: Leluroxxblogger

Snapchat: Blackeyedfox

YouTube: Leluroxxblogger


Until next time... 


leluroxx.blogspot.co.uk

SHARE:
© LoneWolfLeya. All rights reserved.
Blogger templates by pipdig